Have you ever tried to handle a bunch of different outcomes in your code, only to end up with a wall of if…else if…else statements that feels impossible to read?
It’s such a mess, right!?
Well, the good news is that JavaScript has a tool built just for that situation called switch. It lets you keep all your outcomes in one tidy place, so you can stop copy-pasting conditions and start focusing on the behavior.
The trick of course is knowing how and when to use it. So in this guide, I’ll break down what it is, how it works, and even show you some more advanced features and use cases.
Let’s get into it…
Sidenote: If you want to learn more about JavaScript, be sure to check out Andrei’s Complete Web Developer course, as well as my Beginner and Advanced JavaScript projects:
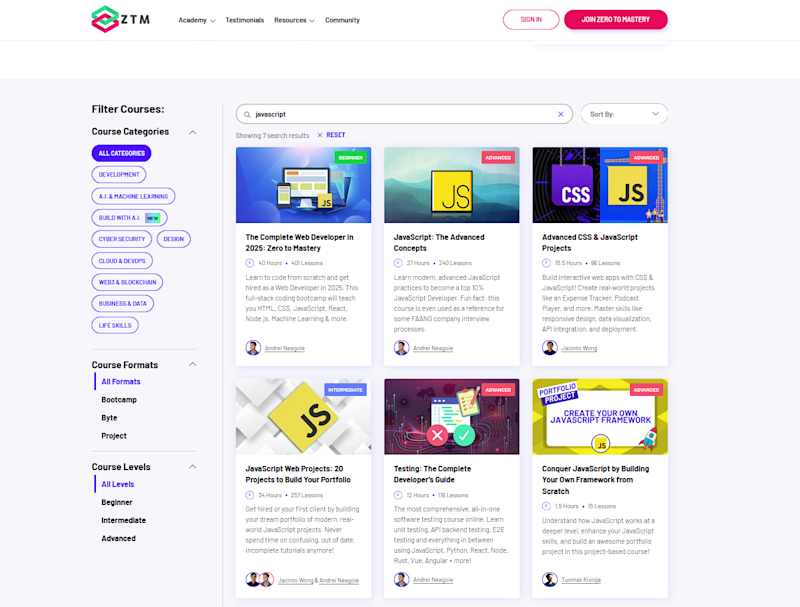
We have everything you need to become a full-stack JavaScript developer in 2025.
Graduates from these programs are now working at Google, Tesla, Amazon, Apple, IBM, Uber, Facebook, Shopify + other top tech companies. There’s no reason why you couldn’t do the same!
With that out of the way, let’s get into this 5-minute tutorial.
What is switch, and what does it do?
You know how ugly your code gets when you’re checking the same thing over and over with if…else if…else? At first it’s two or three checks, then suddenly it’s this big staircase that’s hard to read and harder to maintain.
That’s the exact problem switch was made to solve.
For example
Imagine you’re handling server responses, and you want to react differently depending on the status code.
Without switch you would probably write something like this:
let statusCode = 404;

if (statusCode === 200) {
  console.log("Success! Data loaded.");
} else if (statusCode === 400) {
  console.log("Bad request. Check your input.");
} else if (statusCode === 401) {
  console.log("Unauthorized. Please log in.");
} else if (statusCode === 404) {
  console.log("Not found. Double-check the URL.");
} else if (statusCode === 500) {
  console.log("Server error. Try again later.");
} else {
  console.log("Unexpected status code.");
}
Does it work? Sure. But look at all the repetition!
We have the same statusCode === check written five times. And the bigger the chain gets, the more cluttered it looks and the easier it is to miss something.
Now here’s the same logic with a switch:
let statusCode = 404;

switch (statusCode) {
  case 200:
    console.log("Success! Data loaded.");
    break;
  case 400:
    console.log("Bad request. Check your input.");
    break;
  case 401:
    console.log("Unauthorized. Please log in.");
    break;
  case 404:
    console.log("Not found. Double-check the URL.");
    break;
  case 500:
    console.log("Server error. Try again later.");
    break;
  default:
    console.log("Unexpected status code.");
}
Same result, but much cleaner.
Instead of repeating yourself, you hand switch the value once and then lay out the possible outcomes. Each case is easy to scan, and the default at the end acts as your safety net.
That’s really what switch is. It’s just a single place to collect all the possible outcomes for one value. It makes branching logic easier to read, easier to extend, and a lot less error-prone than a wall of if…else.
How switch works and how to use it
So now you know why switch exists, but how do you actually write one yourself?
Well, you can kind of think of it like following a simple recipe, in that a switch always has four main ingredients:
The value you want to check
A list of cases for the possible outcomes
A break after each case, so things don’t spill over
A default block as your safety net
Let’s build one step by step.
First, you start with the keyword switch and the value you want to check, wrapped in parentheses:
switch (statusCode) {
  // cases will go here
}
Next, you add your first case. Each one says: “If the value equals this, run the code that follows.” (Don’t forget the colon at the end)
switch (statusCode) {
  case 200:
    console.log("Success! Data loaded.");
    break;
}
See that break?
That’s what tells JavaScript to stop once it’s found a match. Forget it, and execution keeps flowing into the next case (which can be useful in some situations, but usually just causes bugs).
Now add more cases for the other outcomes you care about:
switch (statusCode) {
  case 200:
    console.log("Success! Data loaded.");
    break;
  case 404:
    console.log("Not found. Double-check the URL.");
    break;
}
Finally, wrap it up with a default. This block runs if none of the cases match. You can think of it as your “everything else” bucket:
switch (statusCode) {
  case 200:
    console.log("Success! Data loaded.");
    break;
  case 404:
    console.log("Not found. Double-check the URL.");
    break;
  default:
    console.log("Unexpected status code.");
}
And that’s the whole pattern. Once you get the hang of it, you can use any type of value, be it numbers, strings, or even variables.
For example
Here’s the same idea with days of the week:
switch (day) {
  case "Monday":
    console.log("Start of the week. Let’s get going!");
    break;
  case "Friday":
    console.log("Almost the weekend!");
    break;
  case "Saturday":
  case "Sunday":
    console.log("Enjoy your weekend!");
    break;
  default:
    console.log("Just another weekday.");
}
Simple!
Advanced and further techniques
By now, you know the core recipe: hand switch a value, lay out your cases, add breaks, and finish with a default. That’s 90% of what you’ll ever need.
But sometimes you’ll run into situations where the basics aren’t quite enough.
Maybe you’ve got multiple values that should count as the same thing
Maybe you want to check ranges instead of exact matches
Or maybe you just want a clearer way to map user commands to actions
That’s where the advanced patterns come in.
They aren’t complicated, and you won’t need them every day, but knowing they exist gives you more options when your code starts to grow, so let's break some of them down now.
How to use switch for grouping multiple cases
So far, every case has matched one value to one outcome. That works, but real life is rarely that neat. Sometimes, different values all mean the same thing in your program.
Take HTTP status codes as an example. A 200 means “OK,” 201 means “Created,” and 204 means “No Content.” Technically, they’re different, but for your app, they might all just mean success.
If you only knew about if…else, you’d probably write:
let statusCode = 201;

if (statusCode === 200) {
  console.log("Success! Data loaded.");
} else if (statusCode === 201) {
  console.log("Success! Data loaded.");
} else if (statusCode === 204) {
  console.log("Success! Data loaded.");
} else {
  console.log("Something else happened.");
}
It works, but you’ve repeated the same line three times. That’s inefficient because if you ever need to change the message, you’d have to update it in three places.
With switch, you can group those cases together and keep the logic in one spot:
let statusCode = 201;

switch (statusCode) {
  case 200:
  case 201:
  case 204:
    console.log("Success! Data loaded.");
    break;
  default:
    console.log("Something else happened.");
}
Here, if statusCode is 200, 201, or 204, JavaScript runs the same block and then stops at the break.
The real win here isn’t just fewer lines, it’s clarity.
Why?
Well, when someone reads this, it’s obvious you consider all three codes part of the same category. Your intent is baked right into the structure of the code, and that makes it easier to maintain and harder to mess up later.
How to use switch for intentional fall-through
Earlier we talked about why break is so important. Without it, your code doesn’t stop, and it keeps running into the next case.
Most of the time, that’s a bug. But sometimes, you actually want that behavior. That’s called intentional fall-through.
Think of it like stacking outcomes that share part of the same logic. Instead of copy-pasting code in multiple cases, you can let one case “fall through” into the next so that they share behavior.
For example
Let’s say we want a specific message for a 404 (not found), but we also want all errors to log a generic “Something went wrong.”
Well, we could write it like this:
let statusCode = 404;

switch (statusCode) {
  case 400:
    console.log("Bad request. Check your input.");
    break;
  case 404:
    console.log("Not found. Double-check the URL.");
    // no break here!
  case 500:
    console.log("Something went wrong.");
    break;
  default:
    console.log("Unexpected status code: " + statusCode);
}
Now, if statusCode is 404, the output will be:
Not found. Double-check the URL.
Something went wrong.
Why?
Because after the 404 case, we skipped break on purpose, so execution flowed into the 500 case and printed the generic error.
This trick is handy when you want to combine a specific response with a broader category. Just remember to always leave a little comment like (// no break here!).
This will then make it clear you did it on purpose. Otherwise, the next person reading your code might assume you made a mistake.
How to use the switch(true) pattern
Normally, switch compares one value against exact matches. That’s perfect when you’re checking things like status codes or commands. But what if you care about ranges or conditions instead?
That’s where the switch(true) pattern comes in. Instead of switching on a specific value, you switch on the boolean true. This way, each case then becomes a condition, so if it evaluates to true, that block runs.
For example
We could run the same code again, but this time we group status codes into categories instead of checking exact numbers:
let statusCode = 503;

switch (true) {
  case (statusCode >= 200 && statusCode < 300):
    console.log("Success! Data loaded.");
    break;
  case (statusCode >= 400 && statusCode < 500):
    console.log("Client error. Check your request.");
    break;
  case (statusCode >= 500 && statusCode < 600):
    console.log("Server error. Try again later.");
    break;
  default:
    console.log("Unexpected status code: " + statusCode);
}
What’s happening here?
switch(true) tells JavaScript: “run the first case that’s true”
Each case is a condition. If it evaluates to true, its block runs
Since 503 is in the 500–599 range, the “Server error” message is printed
Could you write this with if…else?
Absolutely. But when you’ve got a bunch of related ranges or conditions, switch(true) keeps them neatly organized in one place. It reads almost like a checklist.
You won’t use this every day, but it’s a neat trick to have when your logic depends on categories instead of single values.
How to use switch as a command menu
So far, we’ve used switch for things like numbers and status codes, but another neat use case is treating it like a simple
For example
Let’s say we’re building a small app where a user can type a command like "start", "stop", or "help".
With switch, we can lay those commands out clearly:
let command = "help";

switch (command) {
  case "start":
    console.log("Starting the process...");
    break;
  case "stop":
    console.log("Stopping the process...");
    break;
  case "help":
    console.log("Available commands: start, stop, help");
    break;
  default:
    console.log("Unknown command: " + command);
}
What’s nice here is that each option is mapped directly to its outcome, almost like a menu of choices. This means that you could easily replace those console.log lines with actual functions to trigger the right behavior.
Pretty cool, right?
Not only that, but it also makes the logic of your program visible at a glance. So if you’re wondering “what happens when the user types X?”, you can jump straight to the right case.
Time to test out switch for yourself!
So as you can see, switch is a cleaner way to handle multiple outcomes without drowning in if…else chains. And once you’ve got the basics down, you can start to use it in smarter ways.
The best way to learn this, though, is to actually try it!
I recommend you take a piece of code where you’ve chained together a bunch of if…else statements and rewrite it with switch. Then, see how it feels to group cases, add a default, and keep all the logic in one place.
Don’t worry about using every advanced trick right away; just get comfortable with the pattern. Then once it clicks, you’ll start spotting places in your projects where switch makes your code cleaner and easier to follow.
That’s when it really becomes second nature!
P.S.
Remember, if you want to learn more about JavaScript, be sure to check out Andrei’s Complete Web Developer course:
As well as my Beginner and Advanced JavaScript projects:
We have everything you need to become a full-stack JavaScript developer in 2025, build a portfolio, and get hired.
In fact, graduates from these programs are now working at Google, Tesla, Amazon, Apple, IBM, Uber, Facebook, Shopify + other top tech companies. There’s no reason why you couldn’t do the same!
As a ZTM member, you get access to all these courses and more in a single membership.
Plus, once you join, you'll have the opportunity to from me, other students and other working tech professionals, as well as access to every other course in our library!
Want more JavaScript content?
Check out some of my other articles below:
