


One of the most difficult parts about being a designer is handing off your work to developers.
- Have you provided what they need, in a way they can understand?
- Will they build what you designed correctly?
- And will there be hundreds of back and forth emails to make changes, weeks after you delivered? Hopefully not!
In this guide, I’m going to share some simple but proven tips and tricks that you can use to create a stress-free design handoff that makes both you and your developers happy.
How can we achieve this? By addressing the common roadblocks that cause issues, and building in processes to stop them happening, from day 1 of your project.
In fact, there’s just 4 simple steps:
- Communication
- Organization
- Design with code in mind, and
- Final QA + questions
Easy right?
So let’s dive in…
Step 1: Remove roadblocks before they happen
There are 3 common roadblocks that cause issues with a smooth design handoff:
- Lack of clarity on what needs to be delivered
- Organizational differences and expectations
- Documentation + deliverables mismatch
So let me explain.
When design and development don’t communicate, this will often lead to assumptions and misunderstandings. You might not deliver what they want, they might ask for the wrong thing when they want something else, etc.
It’s not done on purpose or to make your life more difficult. It’s simply because each group will often have different perspectives and understandings of how to structure and organize design files and assets.

Add in the fact that developers often rely on and expect specific types of documentation that designers may not be equipped to provide within their design tools, or even think to provide, and this can all lead to confusion and inefficiencies during the handoff phase.
So how do we fix this?
Well, it's pretty simple...
Communicate early and often
It seems obvious but you just need to communicate with devs right away once you start a project.
This way you can both be on the same page with:
- Devising the solution
- Planning how it will be implemented
- And clarity on what the devs need from you - so that you don’t hit those issues once you’ve finished.
Also, this shared comprehension enables proactive, combined problem-solving because both devs and designers can anticipate and address potential issues in advance that they might miss if they tried to work on it solo.
Easy!
But what's the best way to communicate?
Discord is great, but Figma is better
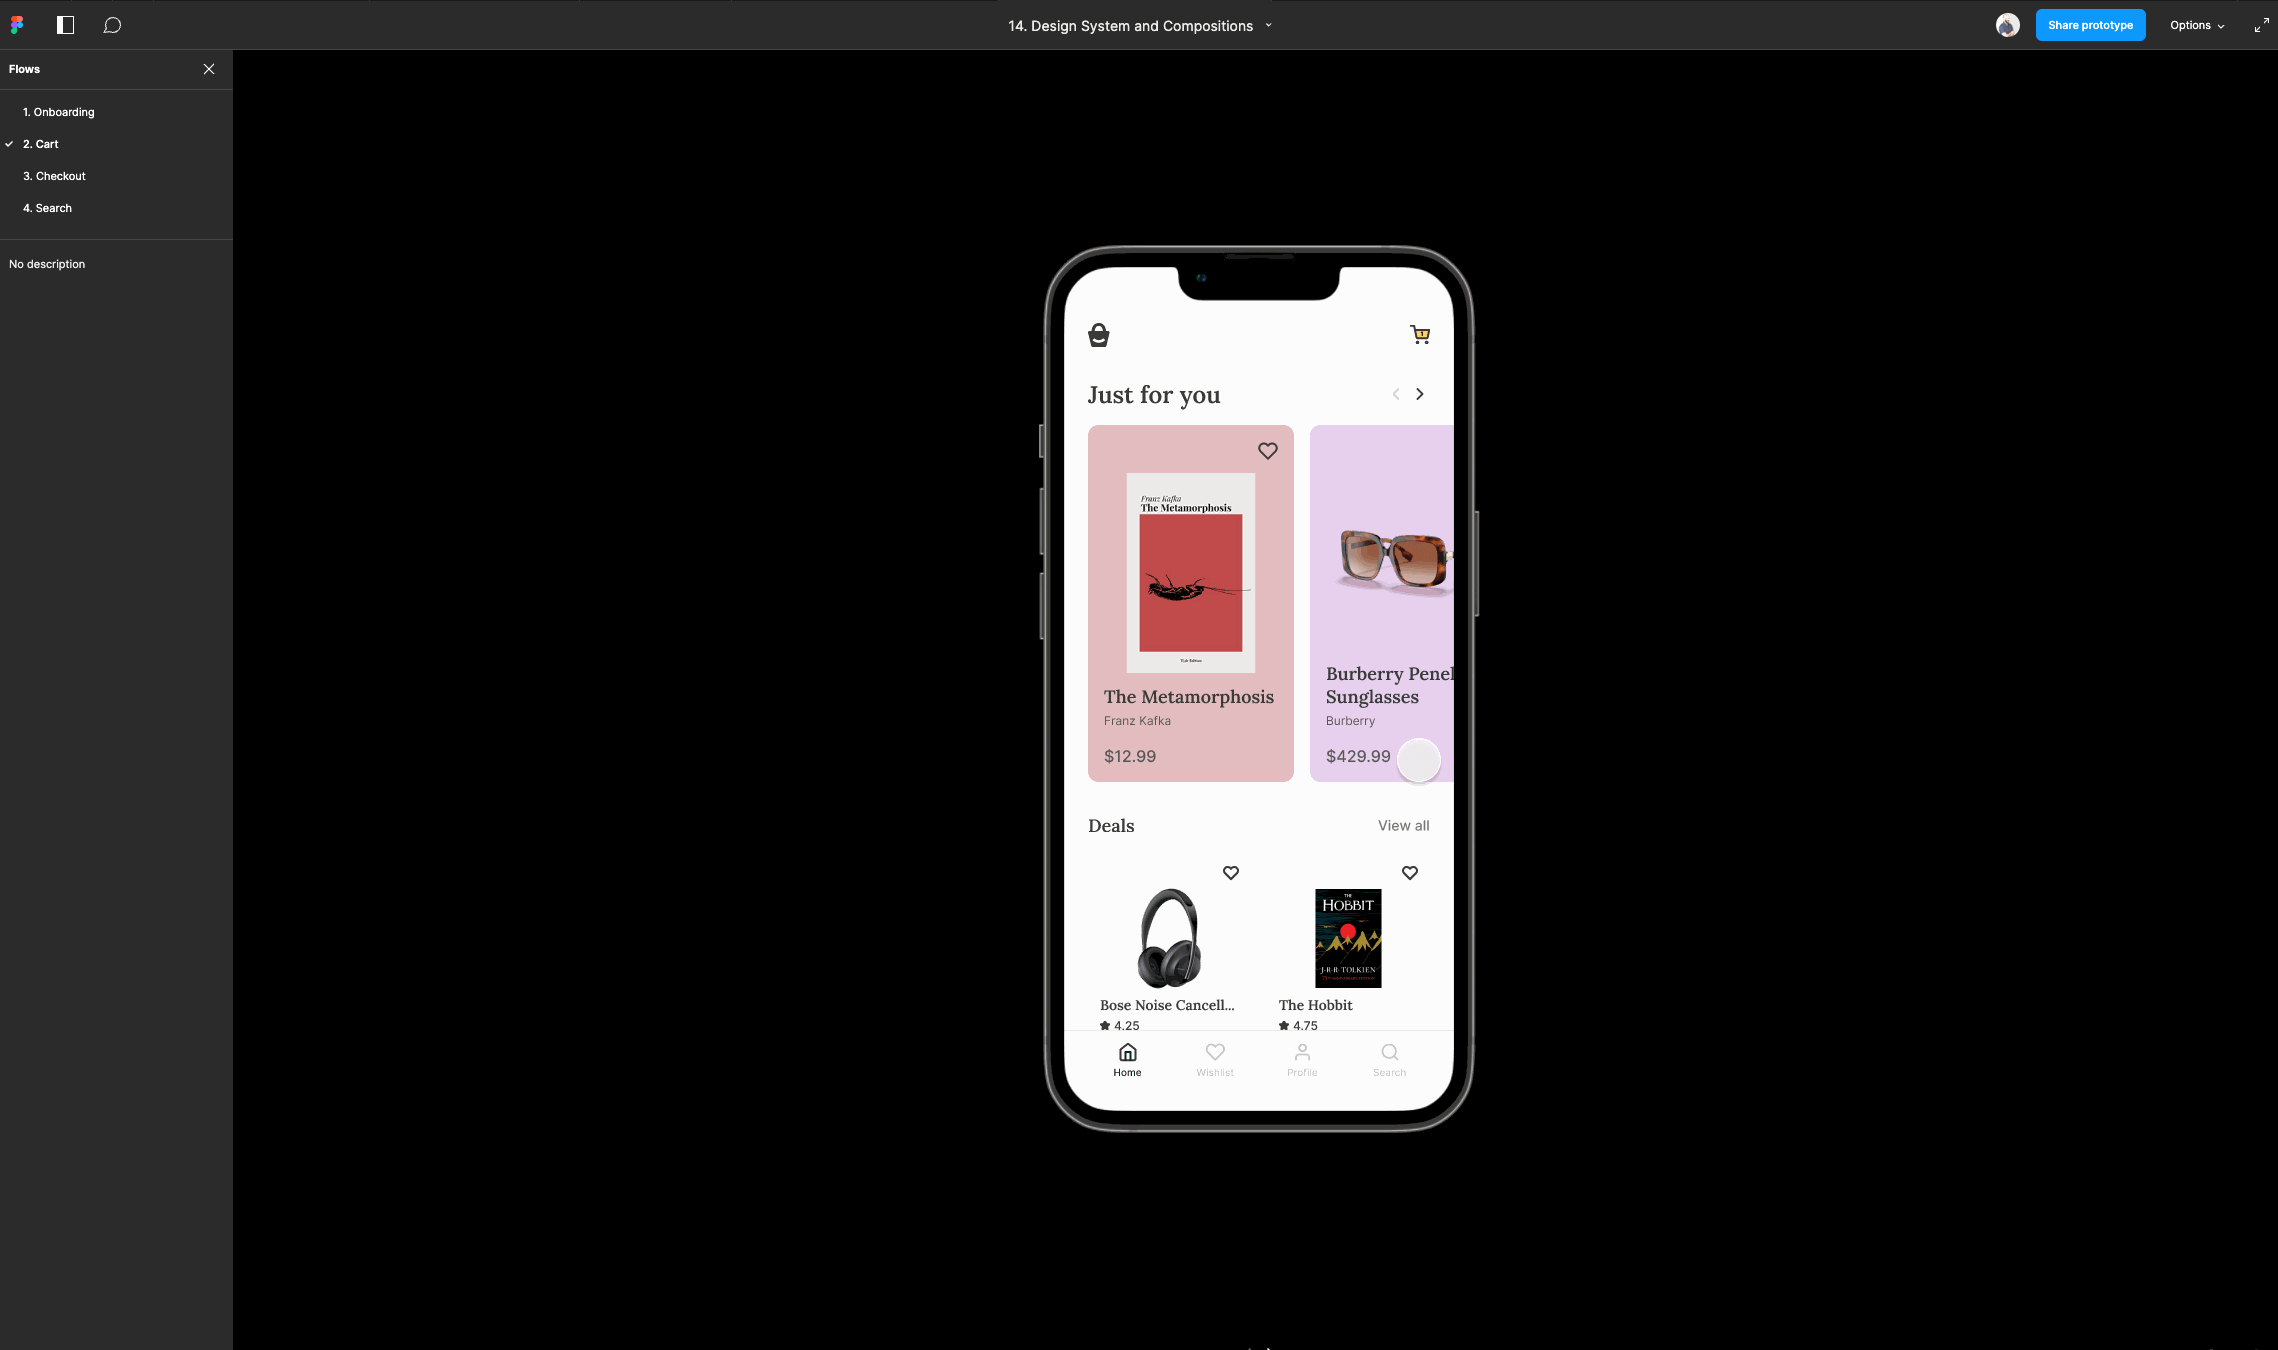
Communication tools are helpful, but one tool that simplifies the design-to-development workflow is Figma.

Figma is an extremely popular, innovative, and collaborative design platform that empowers designers to create, share, and collaborate on designs in real-time.
This means that you can start designing and creating prototypes directly within a single, centralized space - that also has communication and handoff features, such as direct code downloads.
It gets better though, thanks to a heap of in-built features and plugins.
For example
Devs can use the inspect panel to see what you’re building.

Or, they can leave comments and notes for clarity or feedback, with the commentor Figma plugin.

You can even launch a direct audio chat with plugins like Figma chat.

Or even video chat with the Figma Loom video plugin.

Videos are particularly valuable when team members are located in different time zones, making it challenging to find a suitable time for synchronous meetings.
By recording and sharing a video, team members can access and review the information at their convenience, eliminating the need for coordinating schedules.
As you can see, this tool really is amazing for design, communication, and collaboration.
Sidenote: I'm writing this post for you because I've had to learn what I'm telling you the hard way! I've been a product designer for over 10 years at a variety of companies (from startups to huge corporations) so I've had the chance to see what works and what doesn't (unfortunately 😂).
If you find Figma helpful (which I'm sure you will), I also teach the complete Web and Mobile designer UX/UI course here at Zero To Mastery, where you'll learn Figma from scratch and by the end, become a complete master of it!.
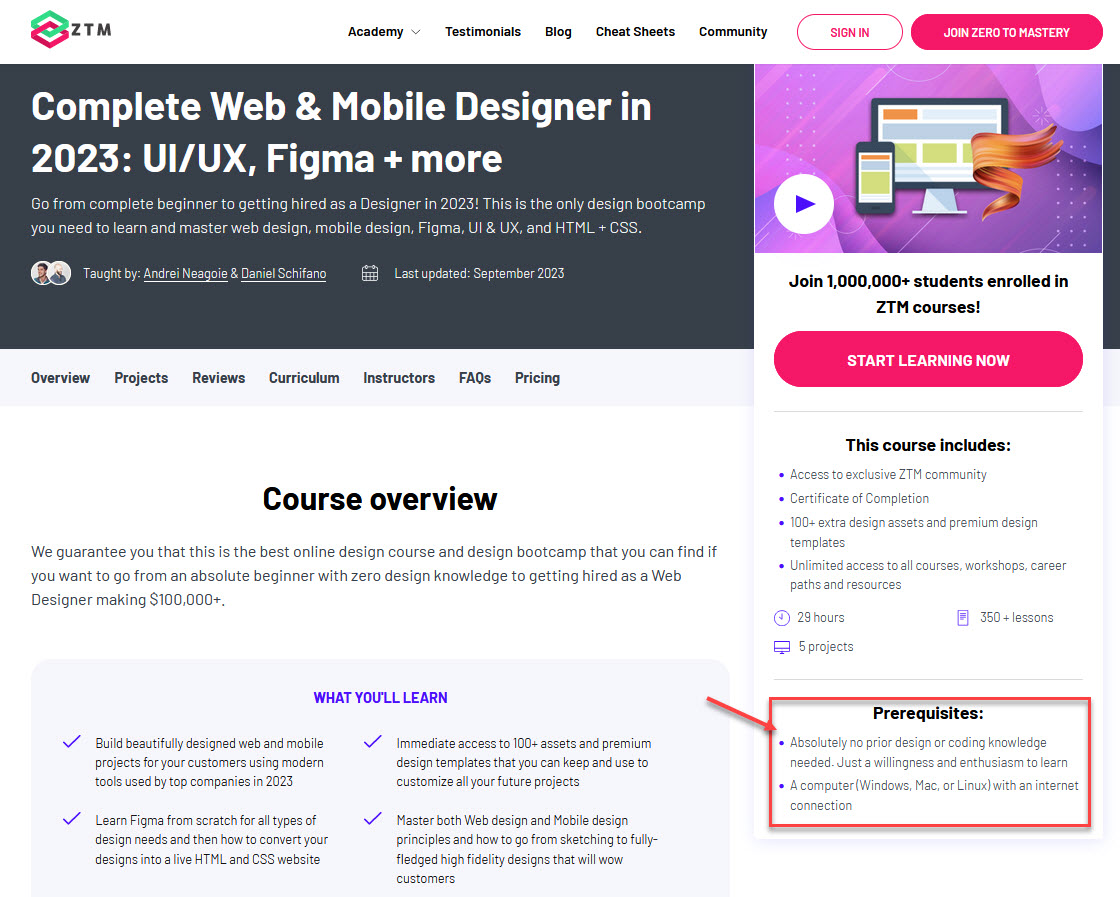
Not only that, but it focuses on getting you from being a complete beginner to the point where you can get hired or win freelance contracts, in the most efficient way possible - all while learning the most important tools and practices.
Case in point, a recent student just went from starting the course, to being hired as a UI/UX Developer in only 7 months!
Sure, you might already have some design skills if you've ran a few handoffs, but there's a lot here that I can help you improve upon.
Check out the course details here, and watch the first videos for free.
Anyways, back to creating the perfect design handoff.
Honestly, by just using Figma and communicating early, you can bypass the majority of issues that you'll struggle with when doing a handoff.
However, I have 2 more tips that will help you get rid of some final issues that might occur.
Step 2: Stay organized!
You don’t want to have to rush and create all your handoff documents right at the end of your project, so get organized early and stay on top of it.
A really easy way to do this is to create a ‘feature notes’ document.

This way you not only have a single source of information around your project, but you also don't miss anything, and have proof of requests etc, to look back on if there is confusion down the line.
Top tip: Include the link to the feature notes in an agreed-upon location, such as a corresponding Jira ticket. This ensures easy accessibility for all team members involved in the development process
But what should you add in your feature note? Well, here’s what I recommend keeping track of.
Add in all design decisions as well as a changelog
Document all the decisions made by the design and dev team during the design process, along with the rationale behind choosing specific solutions.
For example
Let's say that a decision was made to deliver a table without bulk action due to limited time constraints, with plans to include it in the next release.
Well this would be important to keep track of right? Adding this info to your feature doc ensures that developers are aware of the design context and the reasoning behind certain choices, and it also keeps track of where the design is now, along with any recent changes.
Add visuals to help people understand
As designers, we’re well aware of the principle of show not tell, so why not do both and add some visuals to help the devs understand what you’re trying to convey.
Add individual screens
When tackling smaller user stories that do not involve complex logic or require extensive explanations, individual screens can be a practical solution.

Add your prototype
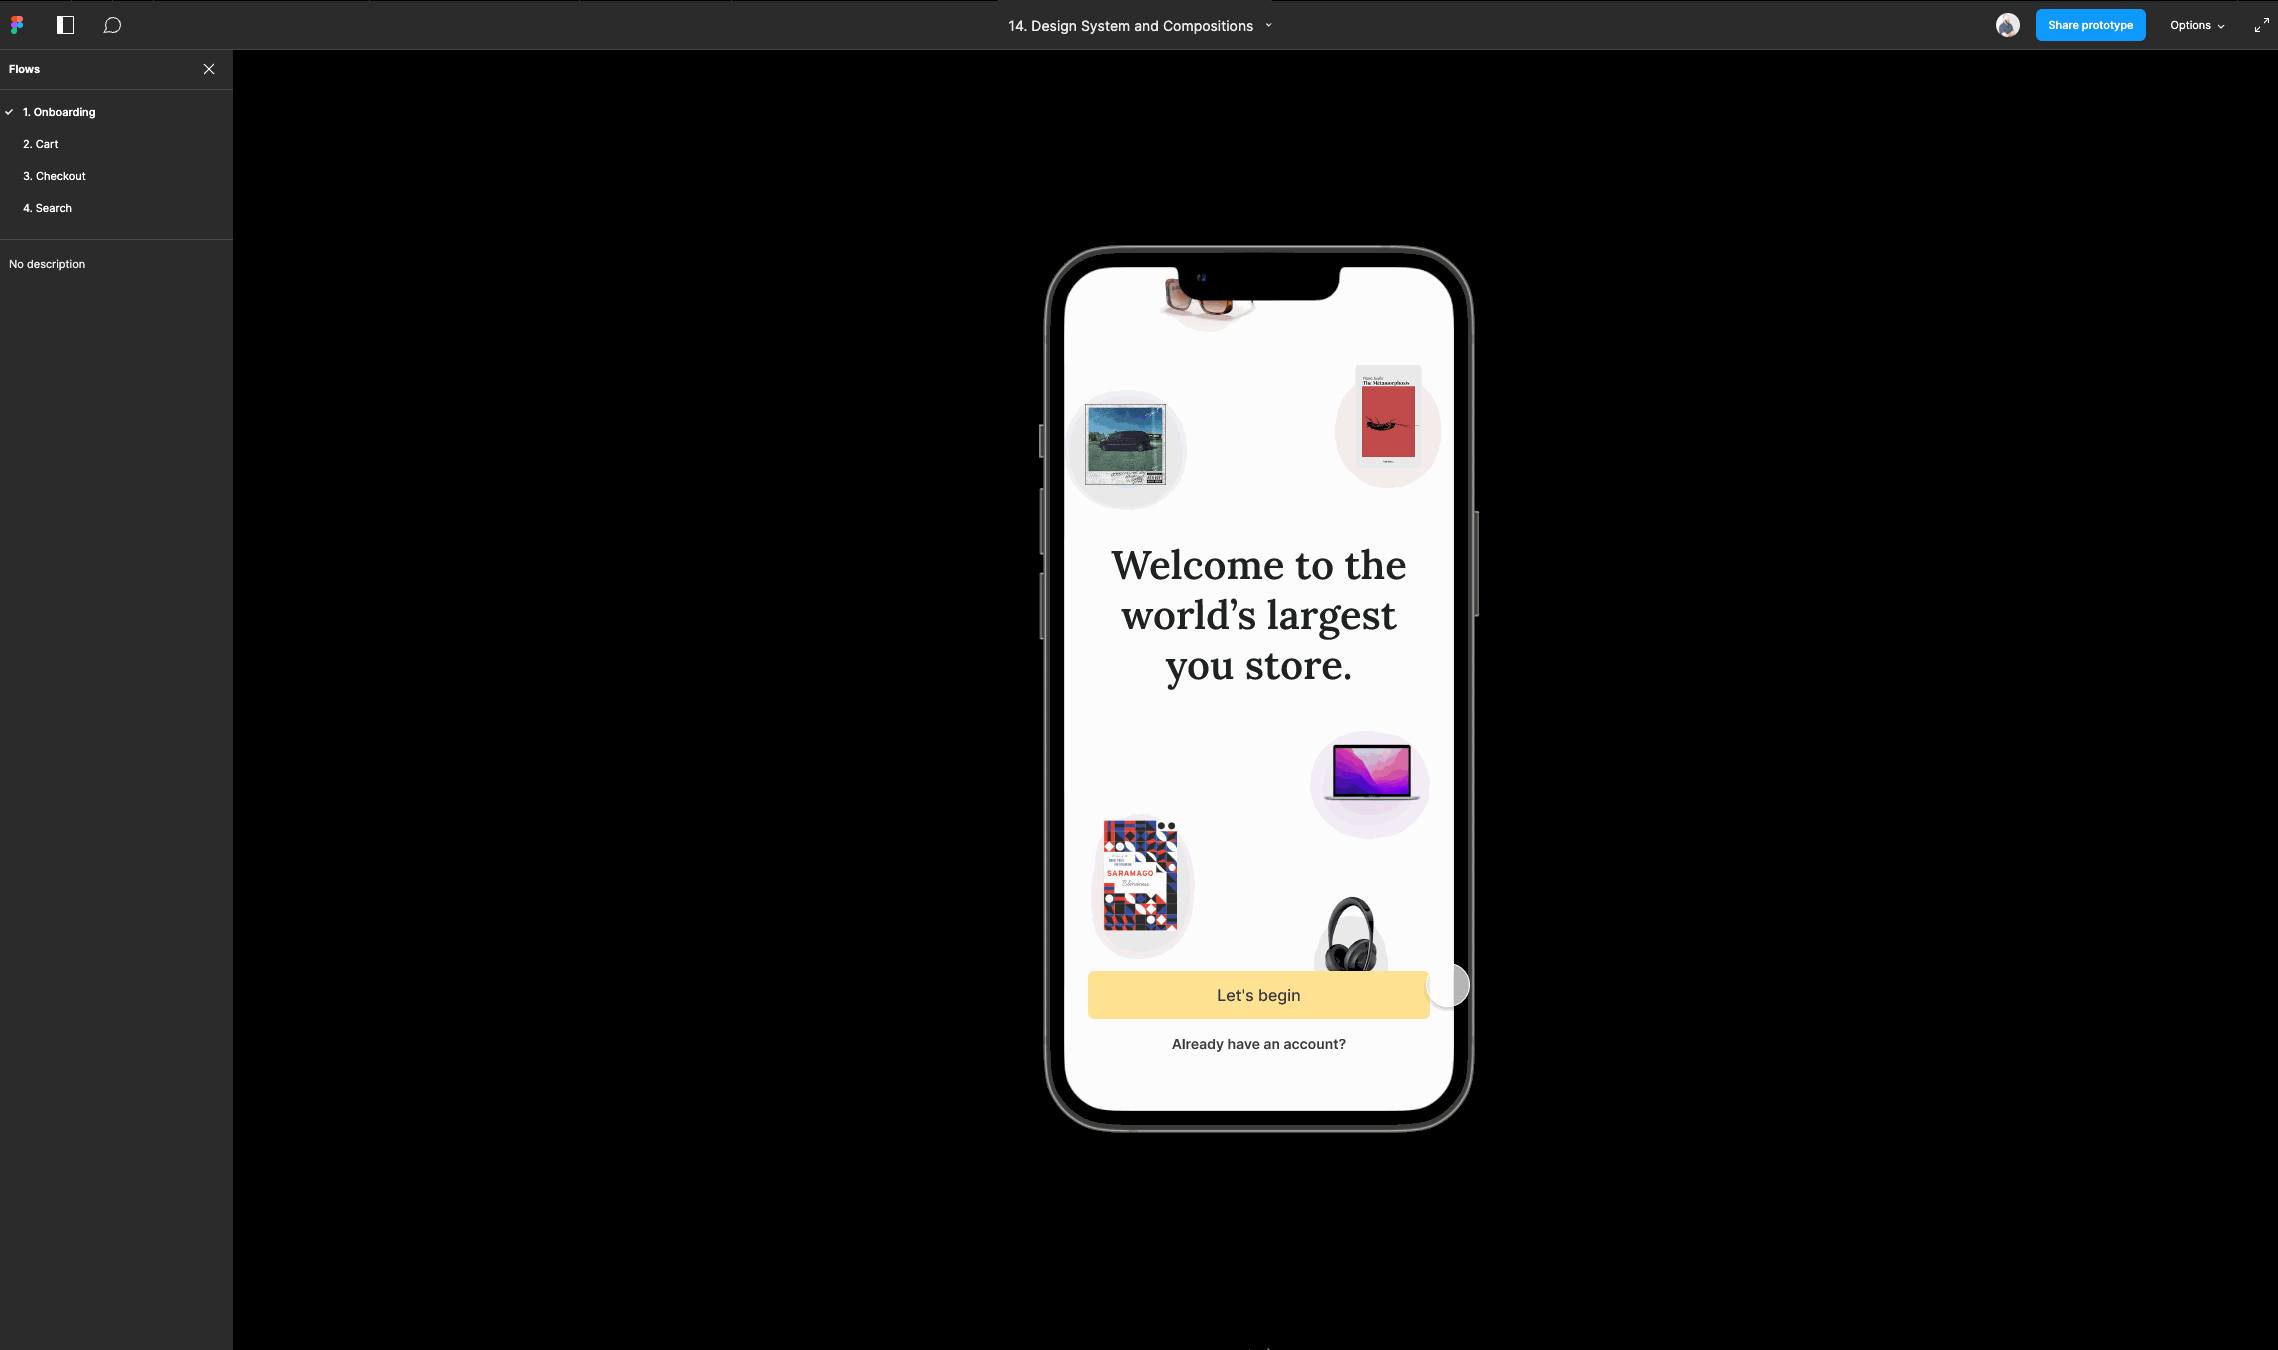
Utilizing a prototype as part of the design handoff process allows team members to experience and engage with the solution in a tangible way. It enhances communication, fosters a shared understanding, and ultimately contributes to the successful implementation and quality assurance of the solution.
Add the ideal user flows
When working on a product with various logical possibilities, such as errors and edge cases, delivering a clear user flow becomes crucial.

It helps ensure that the team understands the sequence of user interactions and the potential paths they may follow.
The two common ways to depict a user flow are either:
- Screen flow, or
- Text flow
Screen flow is a series of connected wireframes or high fidelity screens with lines and arrows that illustrate how a user interacts with an application and navigates through it.
Each wireframe represents a specific screen, and the connections show the logical progression from one screen to another. Wireflows are particularly useful for showcasing the sequential order of screens in the flow.
Whereas text flow is a descriptive approach to illustrating the flow using text-based descriptions without relying on diagrams or screens.
This method can be effective when you want to provide a clear and concise explanation of the flow in a written format.
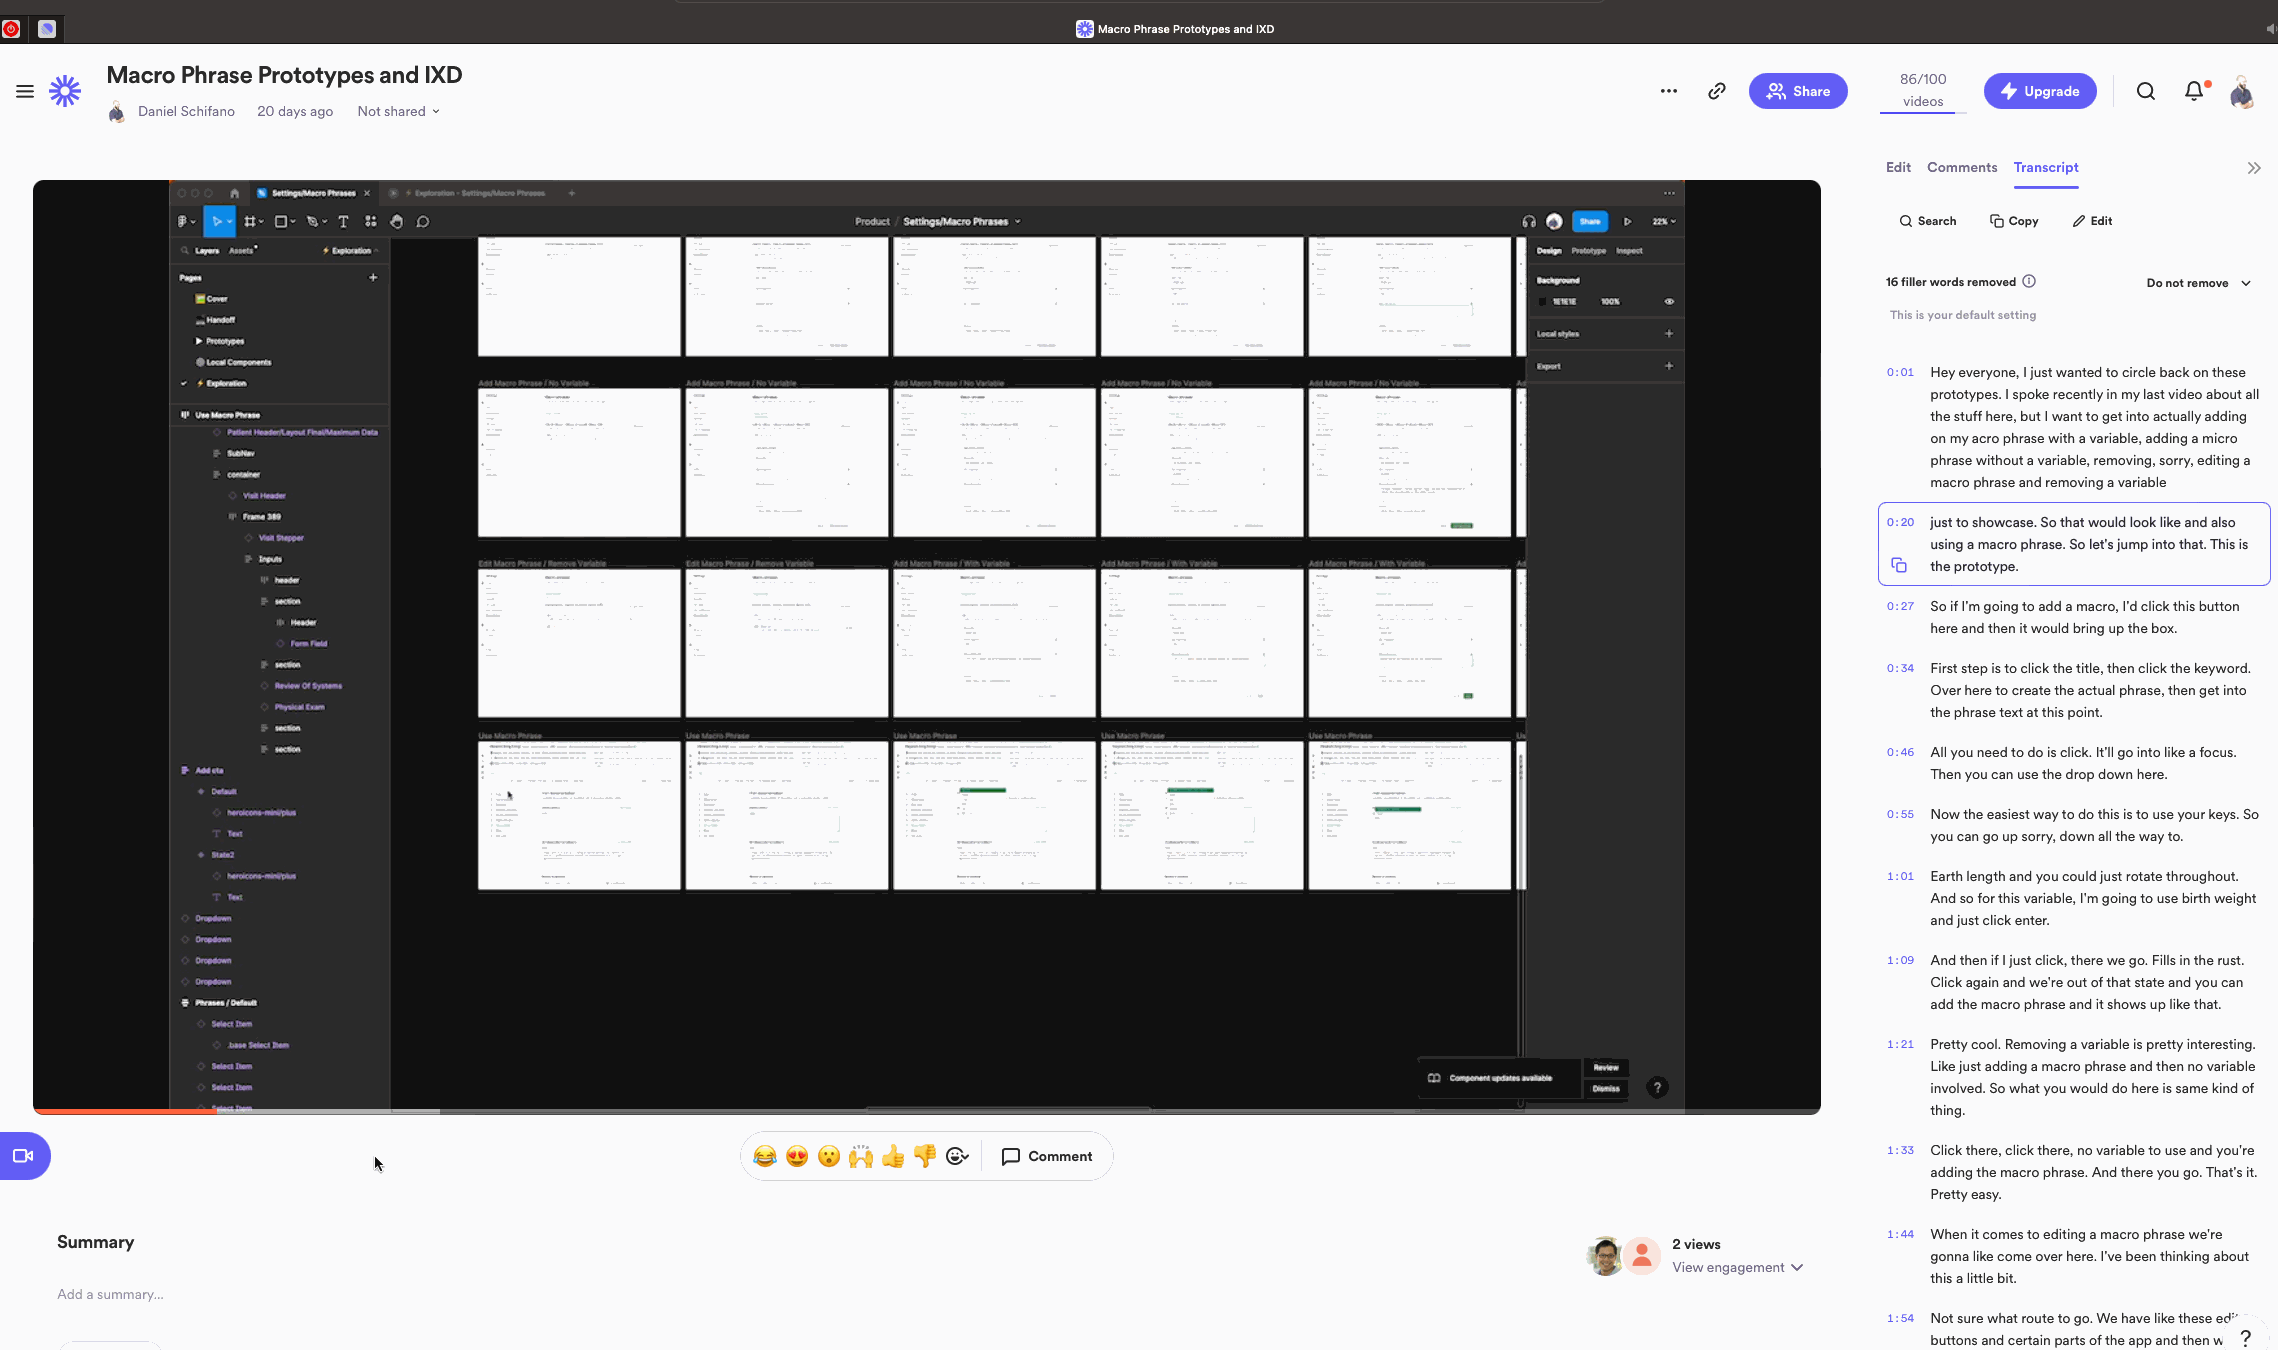
Add in any video walkthroughs
Remember those videos from earlier? You can also record others and add them into your feature notes, to help people understand any complex ideas.
Don't like being on videos? Use GIFS!
GIFs are a lightweight and widely supported format that can be easily embedded and viewed by developers.

Add any relevant links, resources, or any additional information the dev might require
Make sure to add all the necessary links that the devs might require for a smooth implementation process, as well as any helpful information.
This could encompass explanations of specific details, such as the date format to be used, or any other important considerations that might not be easily conveyed visually.
Tl;dr:
Staying organized early will make your life easier, but there's one more forward planning tip that will help remove any final hurdles, and that's designing with code in mind.
Step 3: Design with code in mind
One of the best was to ensure practical and easy implementation by the dev team, is to simply design with code in mind.
Better still? It also makes the entire design process much easier...
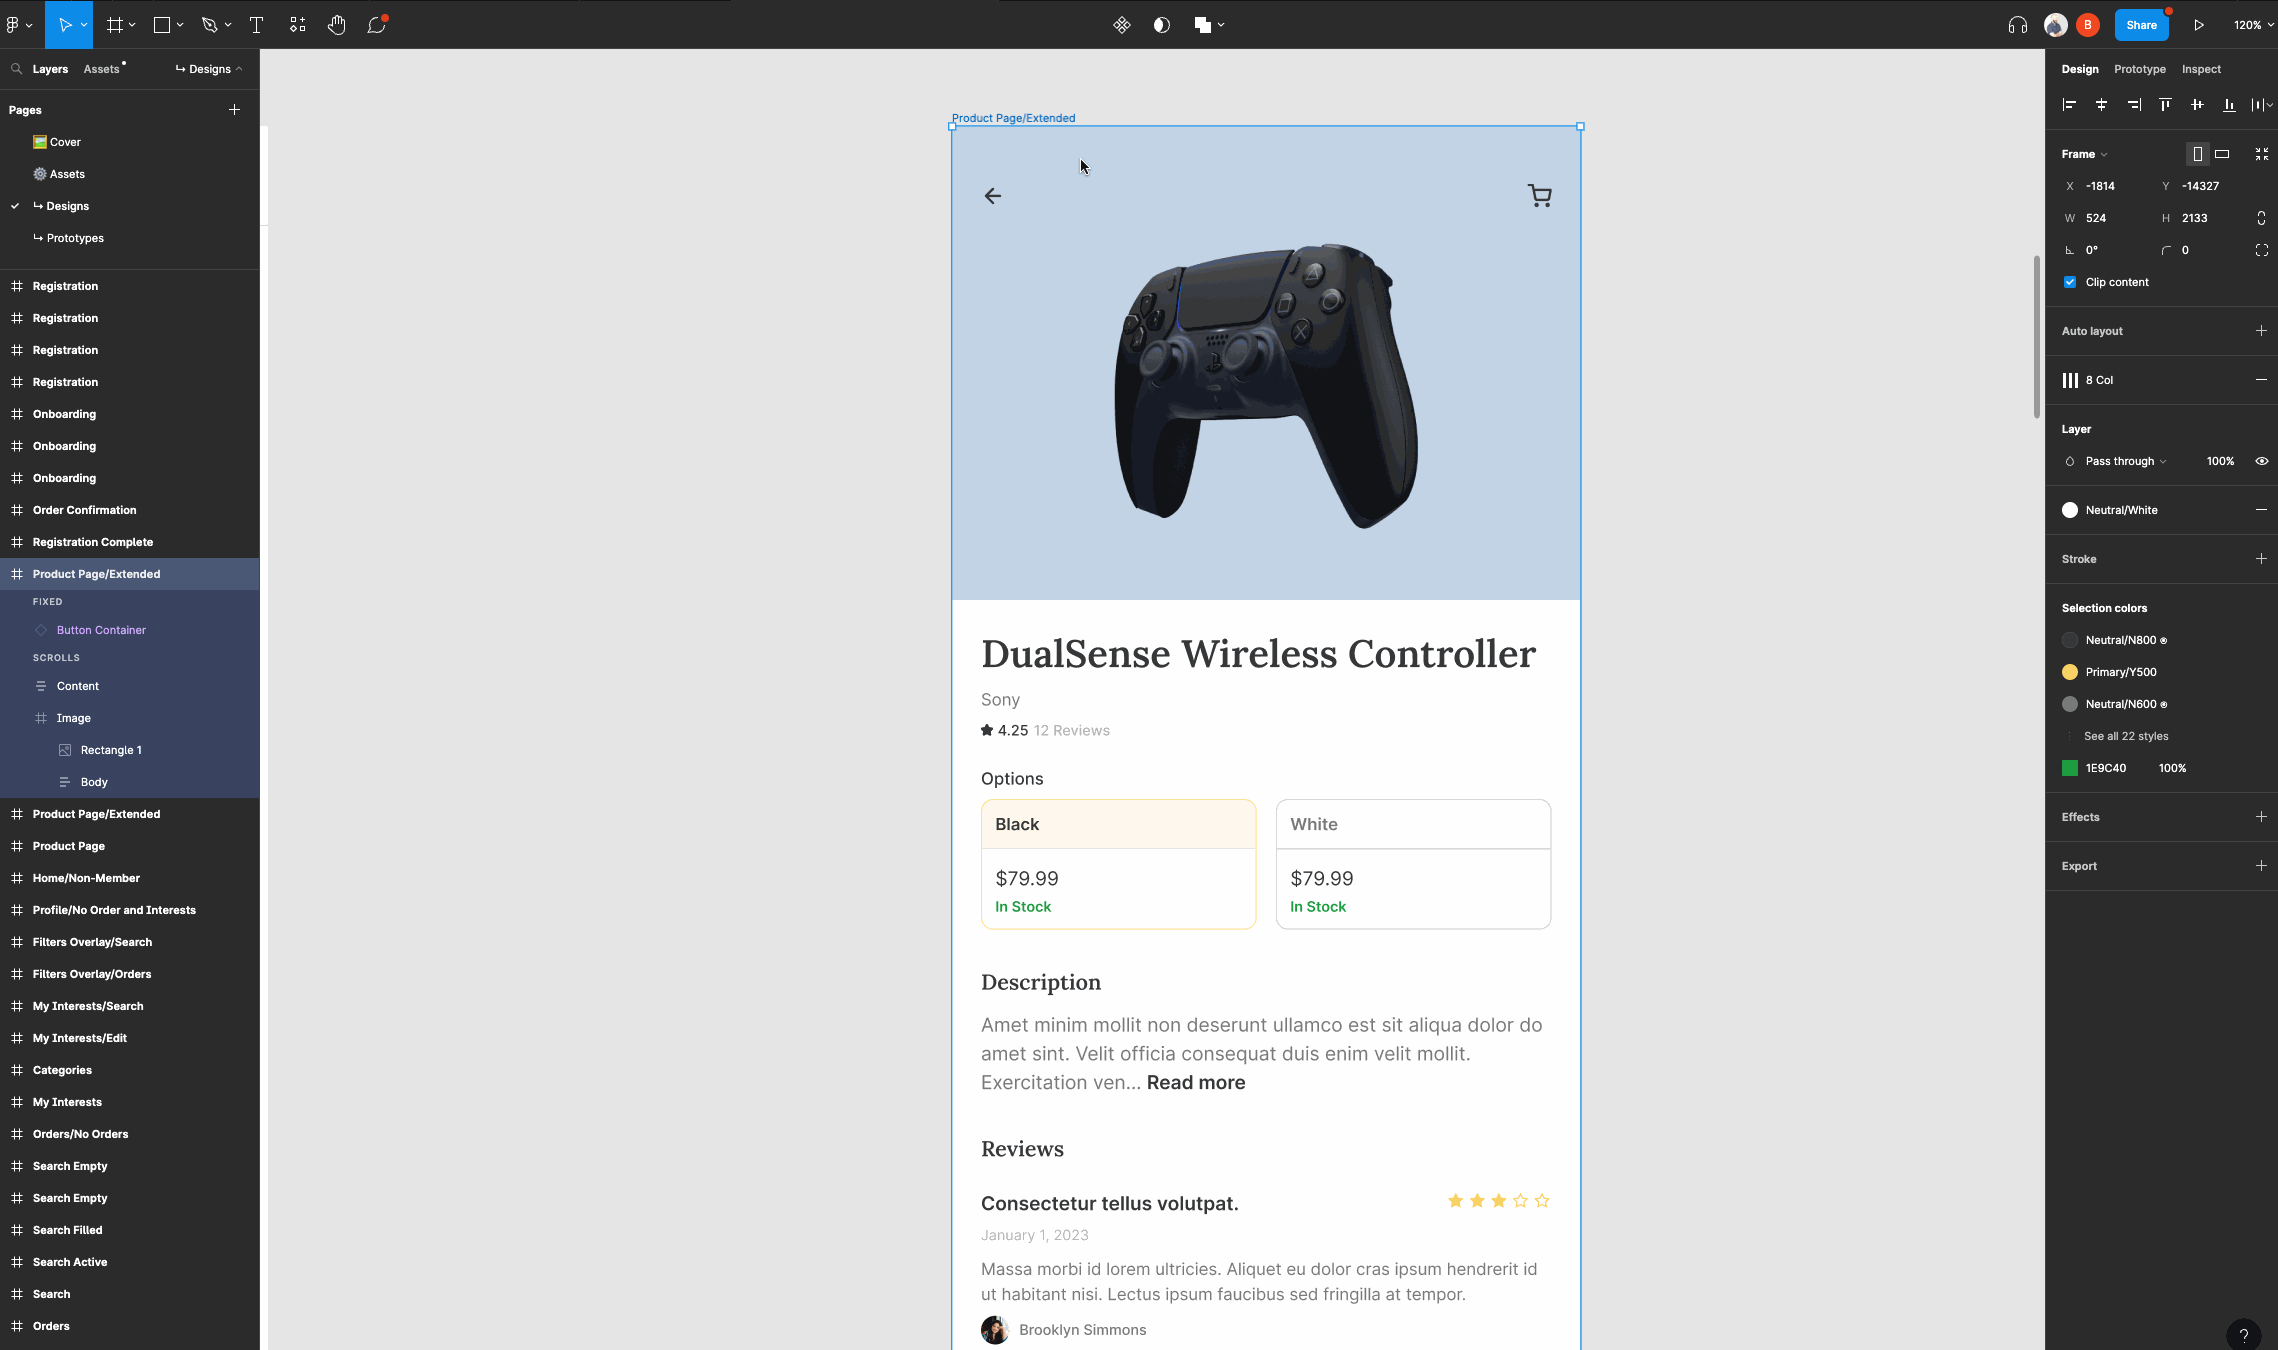
Leverage a design system
A design system encompasses component behaviors, code samples, and comprehensive explanations of the user interface and visual aspects.

Not only that, but it also centralizes the design specifications, ensuring a single source of truth, while also facilitating effective communication of the design intent.

Working with a design system fosters consistency, efficiency, and accuracy in the handoff process.
Create reusable templates
If you're going to do something more than once, take the time to create templates so you can do it faster in the future.
For example
You can develop templates for input maps or message text files, allowing you to quickly fill in the necessary details for each specific handoff.
Create reusable components
Utilizing components not only saves you significant time, but also guarantees consistency throughout your design, and gives your project a cohesive look and feel.

Even better still? Components serve as building blocks that can be reused effortlessly.
Once you create a component, you can replicate it multiple times throughout your design with ease.
Also, any changes made to a component automatically propagate to all instances, ensuring consistency and saving you the trouble of manually updating each element.
Faster, easier, and looks better. What's not to love?
Ensure your designs are responsive
Constraints and Auto Layout are powerful tools inside of Figma that allow you to establish rules for how elements should adjust when the screen size changes.
Need to see how your design looks on a different device?
Boom! With Constraints and Auto Layout, you can wave that wand and watch as your design elements rearrange themselves and scale perfectly to fit any screen.
Designing with these in advance, means that your designs maintain their integrity and functionality across various devices.
Huzzah!
Use interactive prototypes to ideate
By utilizing prototyping with Figma, you can save time and resources by avoiding the need to rectify issues during the development phase.
It also allows you to iterate on the design, gather feedback, and make informed decisions before proceeding with the implementation.
Utilize explanatory elements
Enhance your design explanations by incorporating icons and other visual components within your screens, like so:

Icons or text can be used to indicate user interactions, such as pointing and clicking, while other components can be employed to highlight the size or importance of specific elements.
These additional visual cues aid in conveying design details more effectively and help bridge the gap between your vision and the developers' understanding, and you can then add them to your feature doc.
tl;dr:
By designing with code in mind, you can help make both yours, and the dev's jobs a lot easier.
Step 4: Final QA + questions
So you've handed off the design and documentation. Whats next?
Well, there are 2 main things that I recommend you do.
Thing 1: Keep communicating!
Reach out to the developers and inquire if they have any uncertainties or require further information.
Sometimes people will rather struggle before asking for help. The last thing you want is to be working on another project then having to come back and discuss this one, so reach out and clear any issues.
Thing 2: Make sure it works
Then, perform a design quality assurance review of the implementation to verify that it aligns with your design.
You can request an internal version from the developers to test before the final release. During this review, carefully examine the visual appearance and behavior of the product, comparing it against your original design.
If you come across any issues or discrepancies, promptly inform the developers so they can address and resolve them, and use your feature doc to show where things are not correct.
Are you ready for easier design handoffs?
Hopefully you found this guide helpful, and have seen some gaps in your current process that you can improve upon.
There's no 'one size fits all' approach to design. But by following these steps, you can foster collaboration with the development team, address any concerns, and maintain the integrity of your design throughout the development phase.
This proactive approach will help ensure that the final product aligns with your initial vision and meets the desired quality standards, and cut down on all those back and forth emails after you've handed off.
P.S.
If you want to delve deeper into Figma and its uses, learn more tips and processes for UX and UI design, or even start from scratch as a designer, then check out my complete Web and Mobile developer course here.
You can also watch the first videos for free, and see what you think. Zero pressure.
And the best part? You also get direct access to me, as well as other students, via our private Discord.

That way if you're stuck, you can ask questions and get a helpful response from awesome people!


